how-to-connect-your-devices-with-the-lifemate-lifetag-on-android
Set up the LifeTag with Google Find My Device
Requirements
- An Android device running version 9 or higher
- An active Google account
- Bluetooth and location switched on
- About 5 minutes for the setup
Table of contents
Setting up via the Google/Android Find My Device app
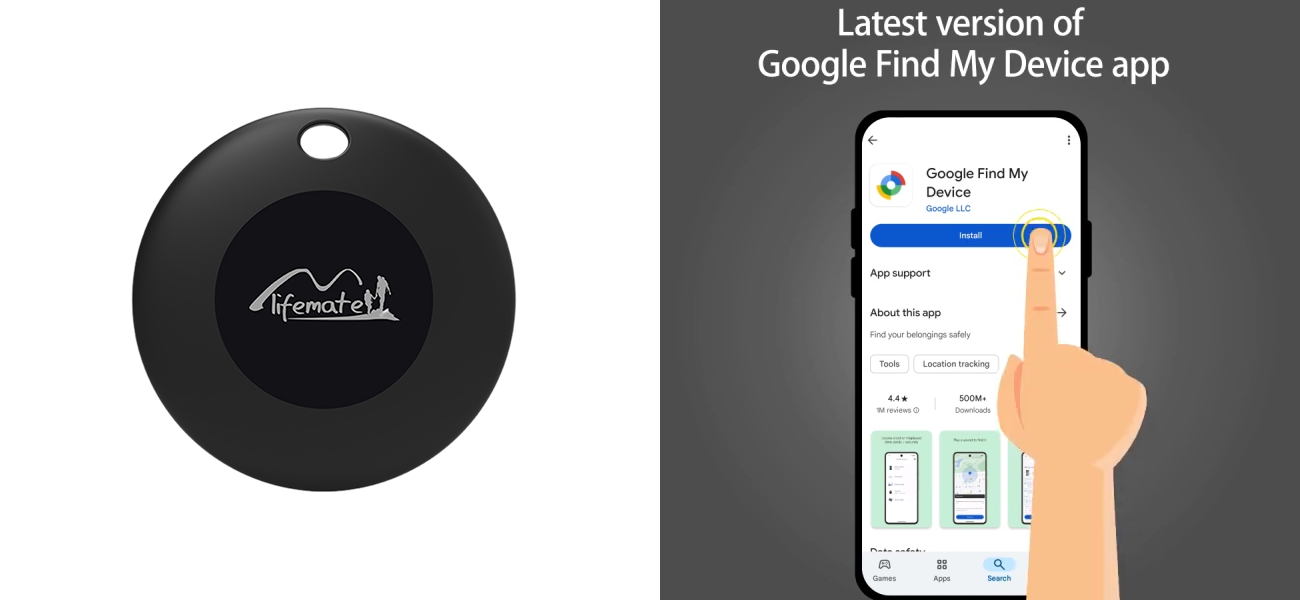
Step 1: Download the Google Find My Device app
Open the Google Play Store on your Android device. Search for "Google Find My Device". Tap "Install" to download and install the app.
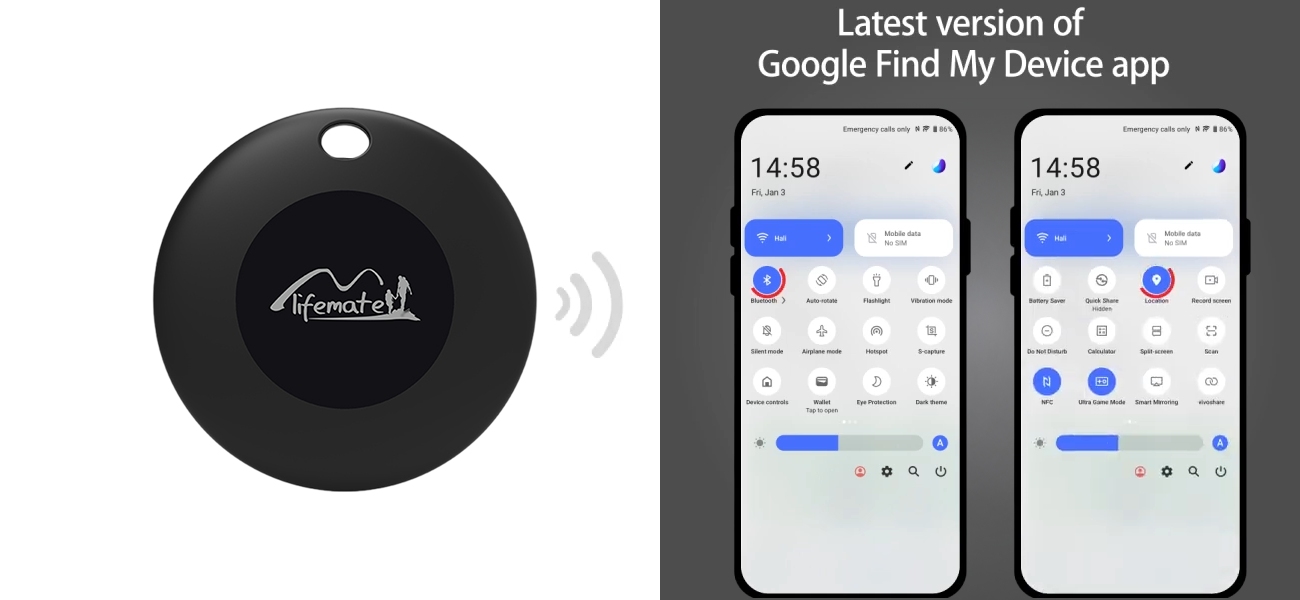
Step 2: Turn on Bluetooth and location
Open your phone's quick settings by swiping down from the top of the screen. Tap the Bluetooth icon to turn on Bluetooth. Tap the location icon to turn on location services.
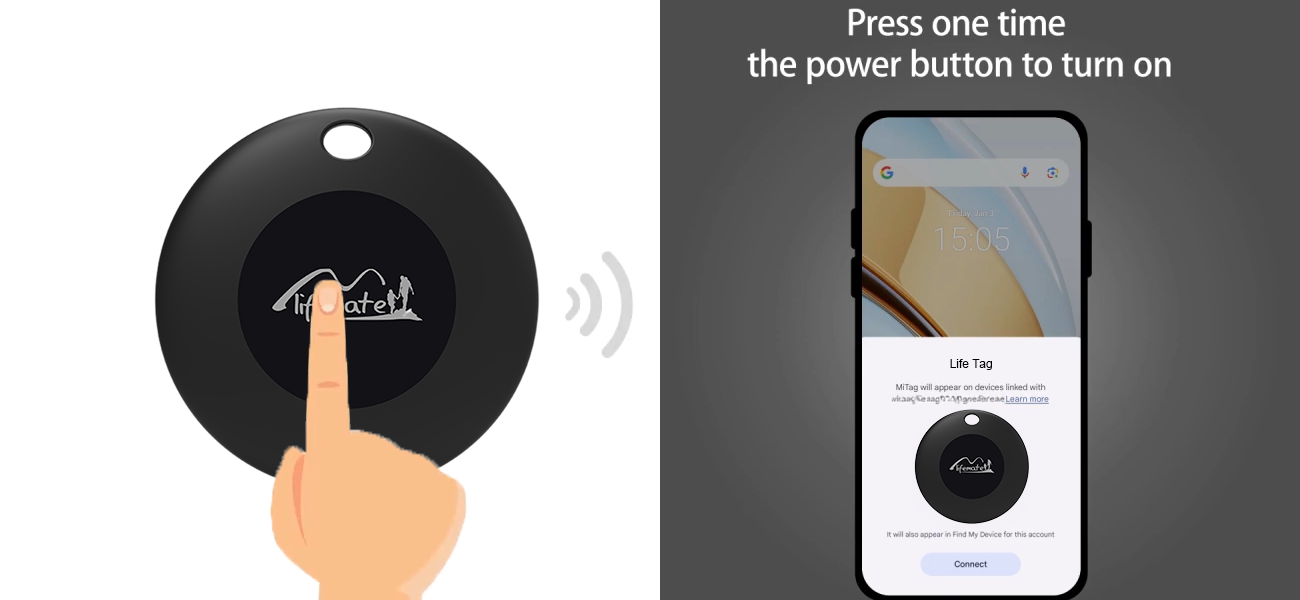
Step 3: Press the LifeTag to activate it
Hold the Lifemate LifeTag in your hand. Press the button in the centre of the tag once to activate it. The LifeTag will then send a signal to your phone.
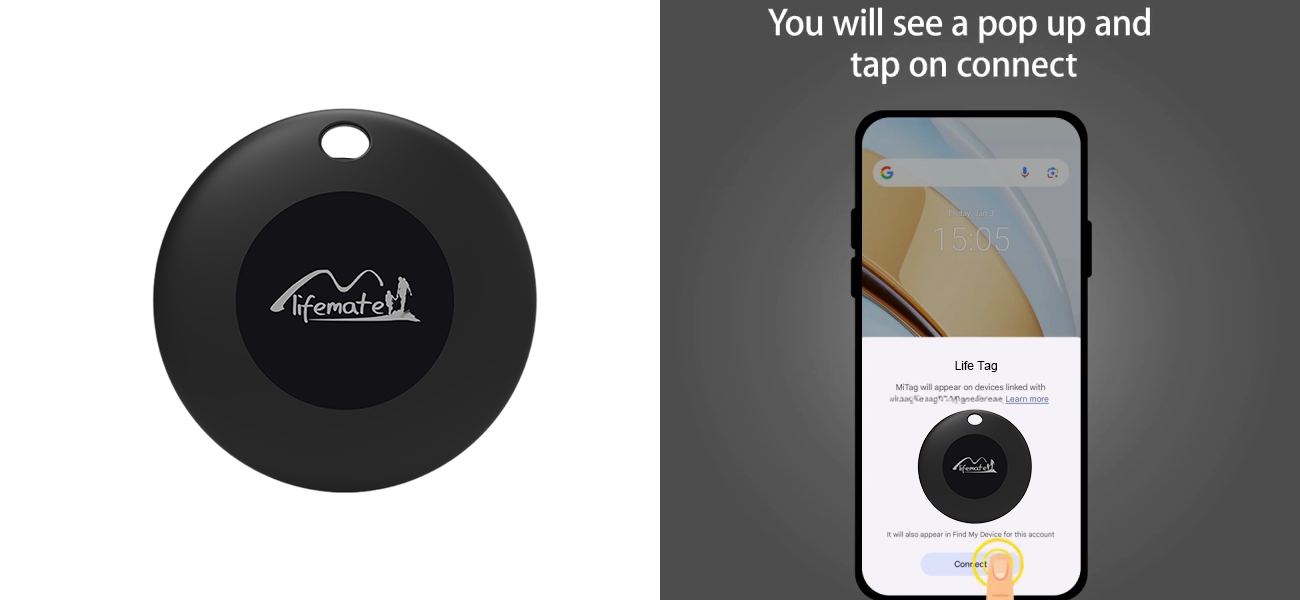
Step 4: A pop-up appears on your phone
Wait a few seconds until a pop-up appears on your Android device. Tap "Connect" to add the LifeTag to your Google account.
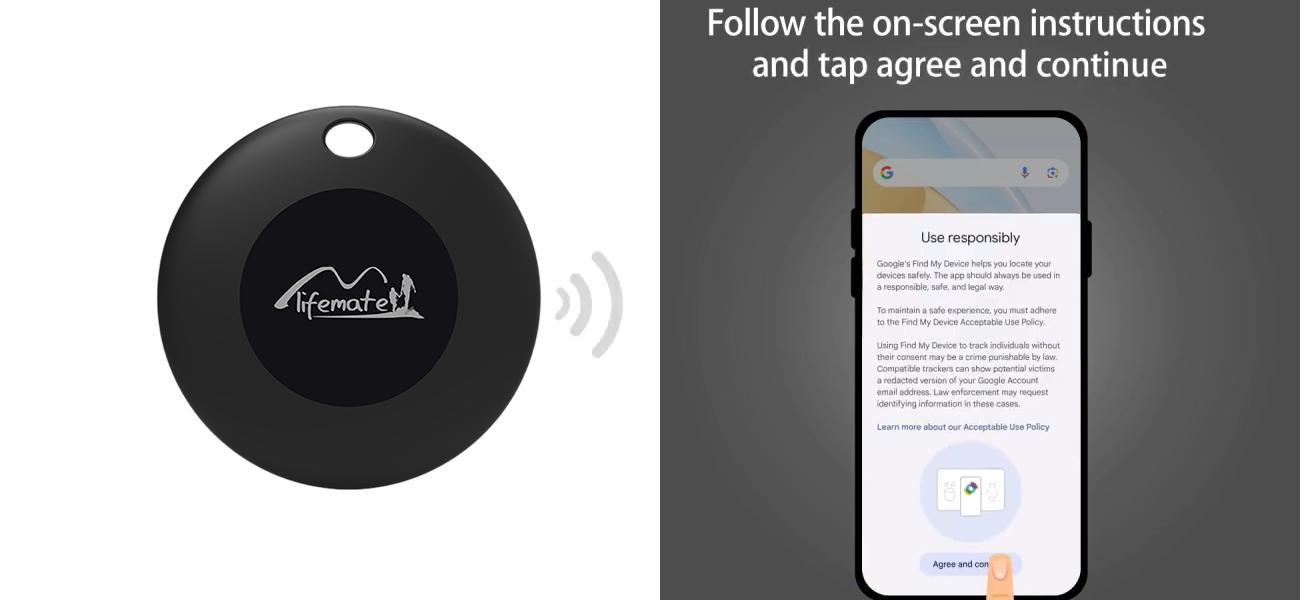
Step 5: Follow the instructions and accept the terms
A welcome message with the usage instructions appears on your screen. Read the information carefully, then tap "Accept and continue".

Step 6: Your LifeTag is ready to use!
The LifeTag has been successfully added to the Google Find My Device app. You can give it a name, change its category and share it with others.
Manual setup

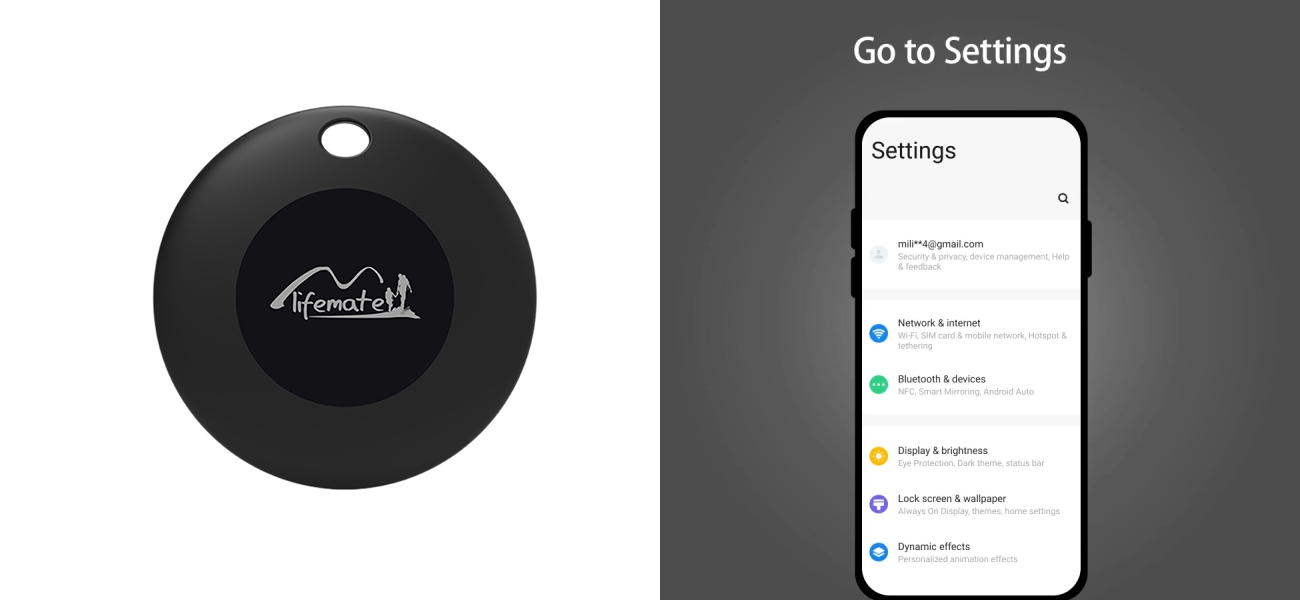
Step 1: Go to settings
Open the Settings app on your Android device. Find and tap Google.
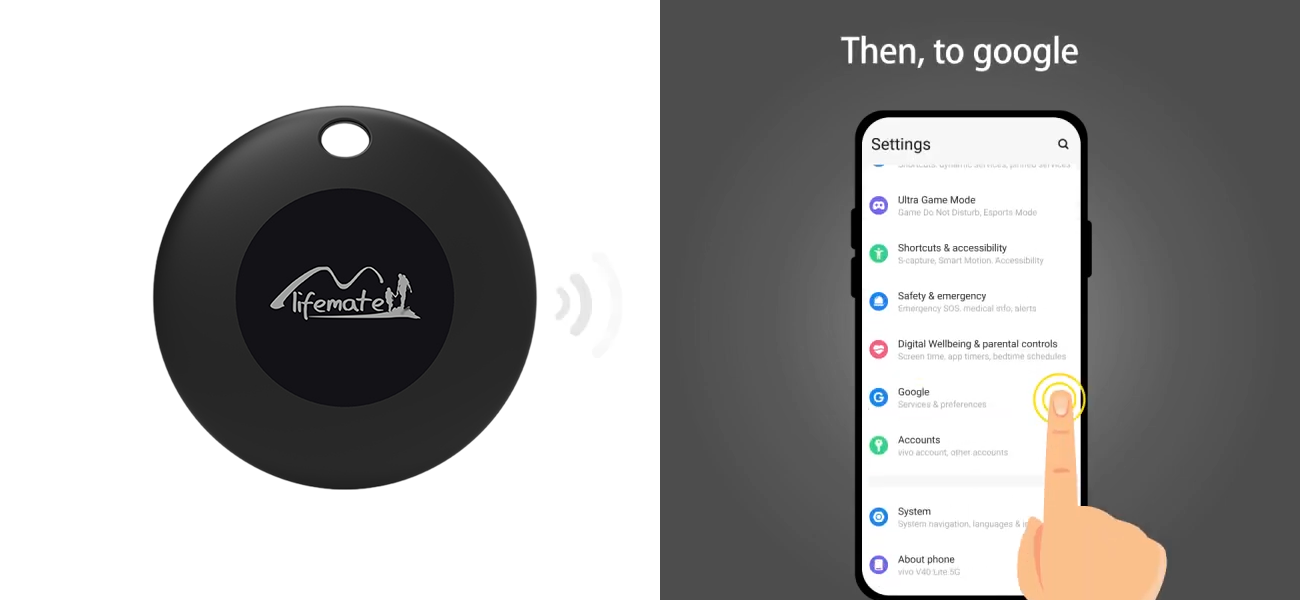
Step 2: Go to the Google settings
Scroll through the settings menu and tap Google. This opens the section with Google services and preferences.
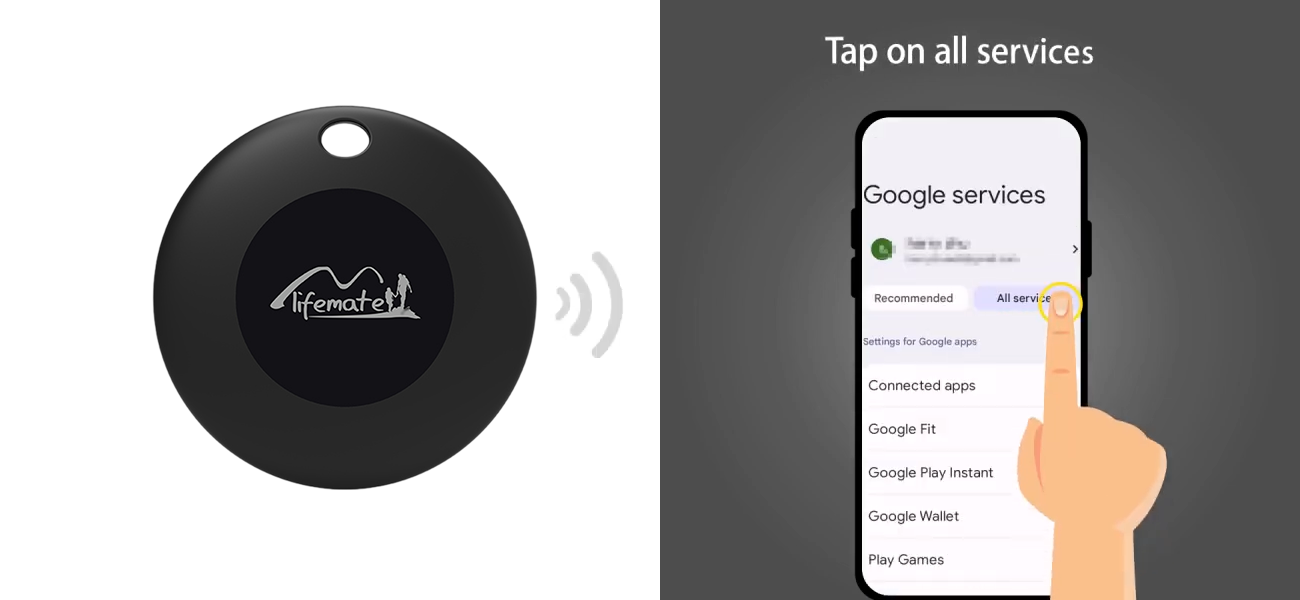
Step 3: Tap "All services"
In the Google services section, look for the "All services" option. Tap it to display all available settings.
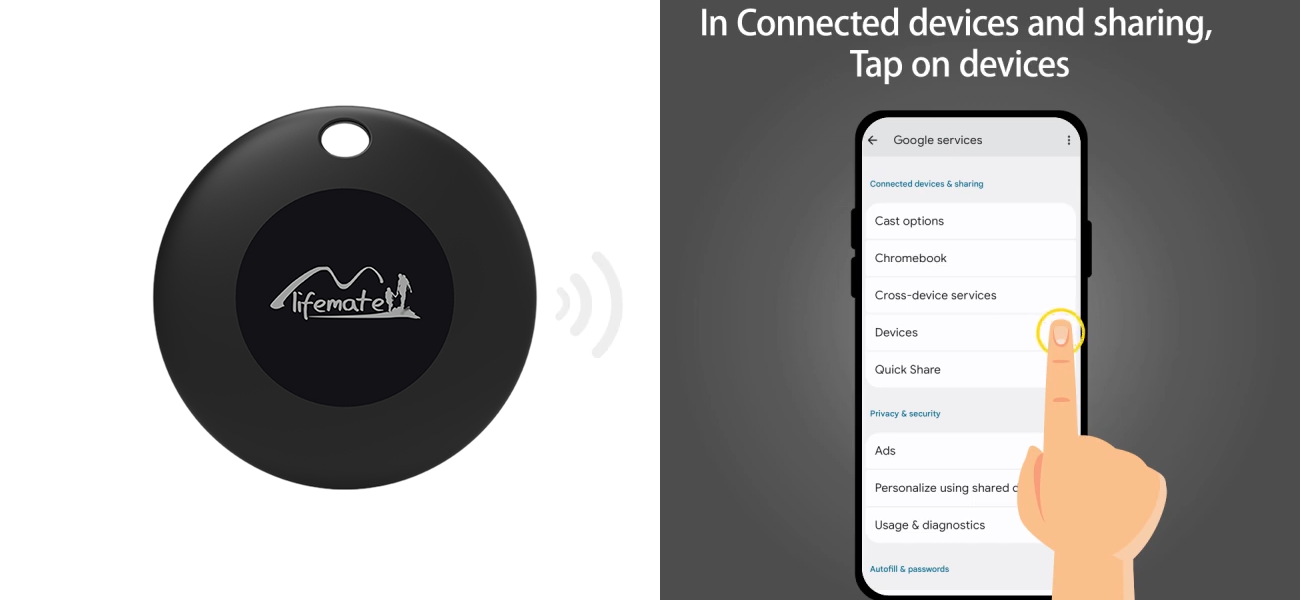
Step 4: Go to "Devices"
In the Google services, find and tap "Devices". This shows all your connected and available devices.
Step 5: Turn on "Scan nearby devices"
In the "Devices" section, tap "Scan nearby devices" and turn the option on. Your phone will then automatically detect nearby Bluetooth accessories, including your LifeTag.
Step 6: Tap "LifeTag" and accept the terms
The LifeTag appears in the list of detected nearby devices. Tap it, read the on-screen instructions, then accept the terms to link it to your Google account.
Step 7: The LifeTag is connecting
The connection is established within a few moments. Keep the LifeTag close to your phone and wait until the pairing is confirmed.
Step 8: Your LifeTag is ready to use!
You can now see the LifeTag on your map in Google Find My Device. You can make it ring, locate it or share access.
Lifemate LifeTag Duo (compatible with iOS and Android)
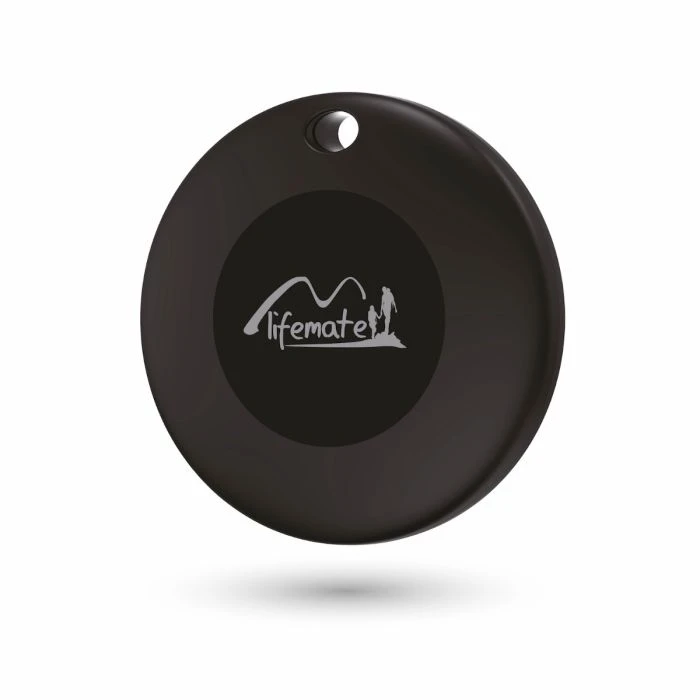 Duo - 1-pack
View product
Duo - 1-pack
View product
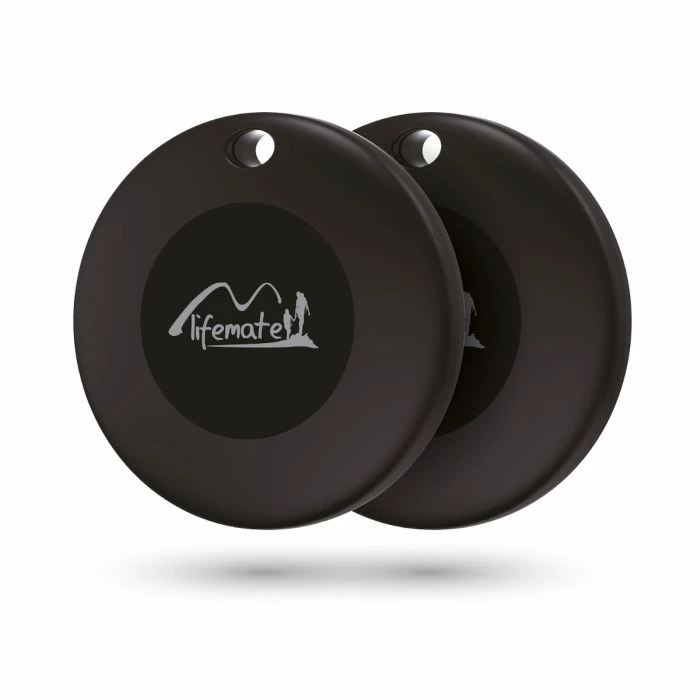 Duo - 2-pack
View product
Duo - 2-pack
View product
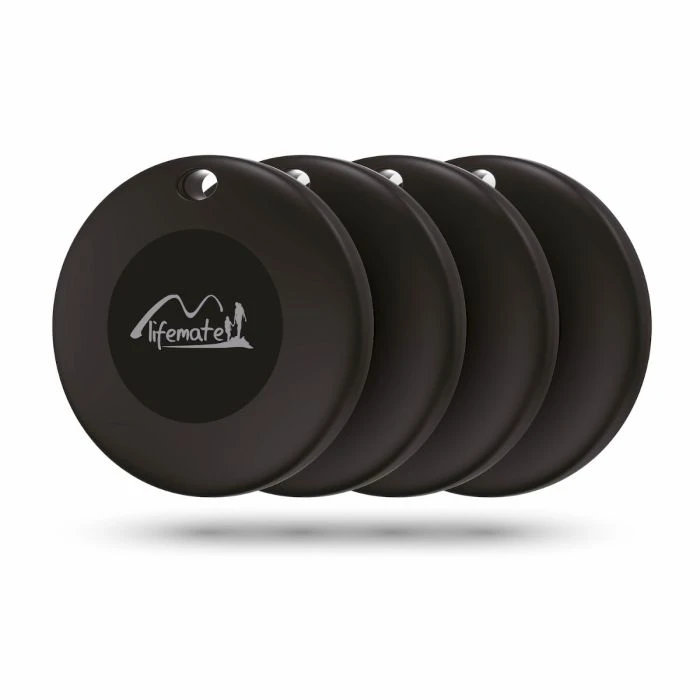 Duo - 4-pack
View product
Duo - 4-pack
View product
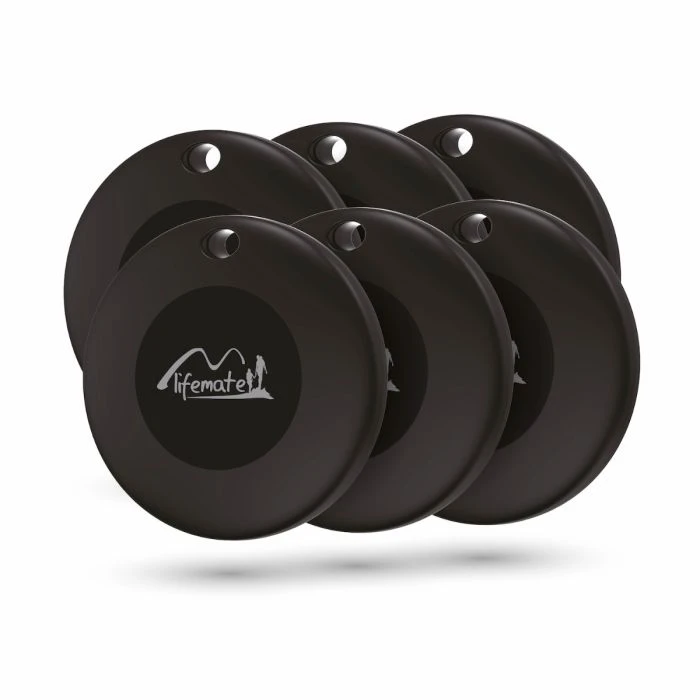 Duo - 6-pack
View product
Duo - 6-pack
View product
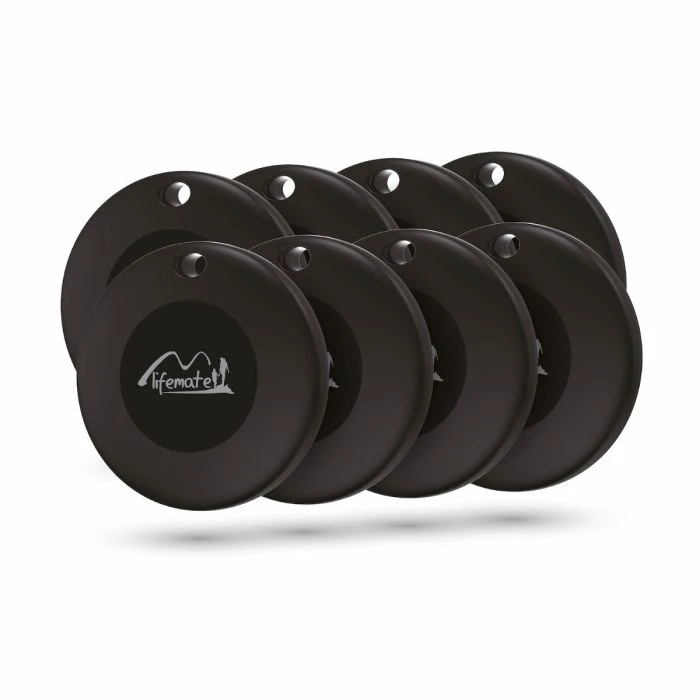 Duo - 8-pack
View product
Duo - 8-pack
View product
Lifemate LifeTag for Android (Google Find My Device)
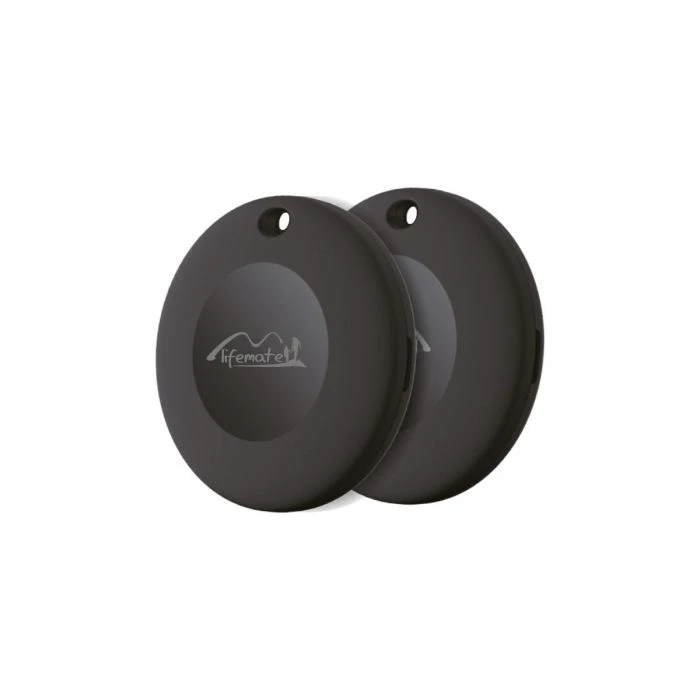 Android - 2-pack
View product
Android - 2-pack
View product
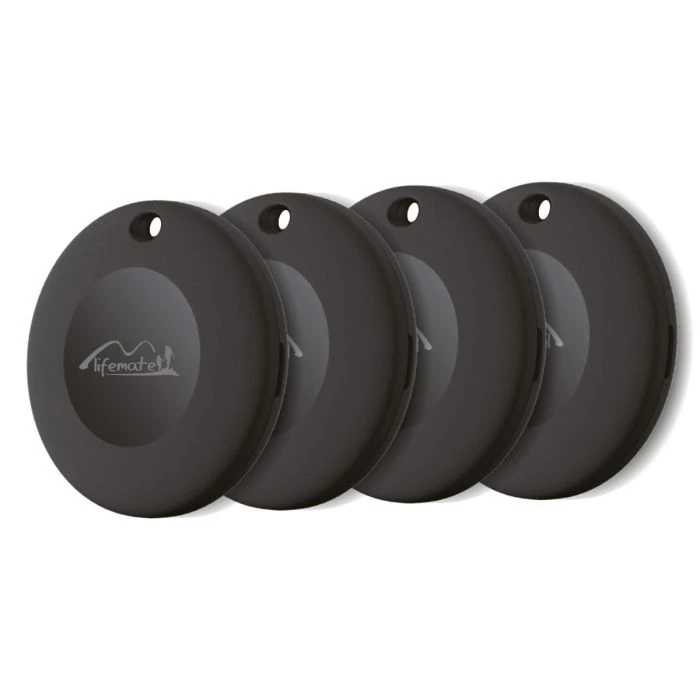 Android - 4-pack
View product
Android - 4-pack
View product
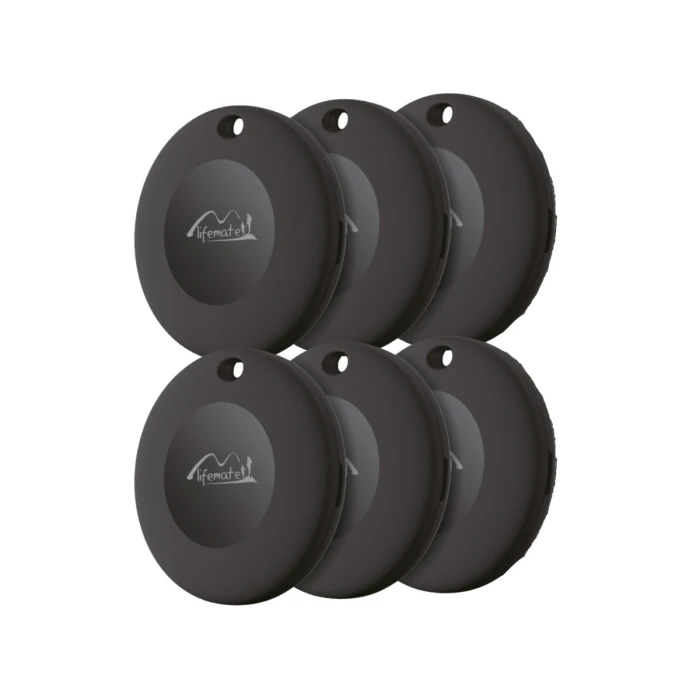 Android - 6-pack
View product
Android - 6-pack
View product
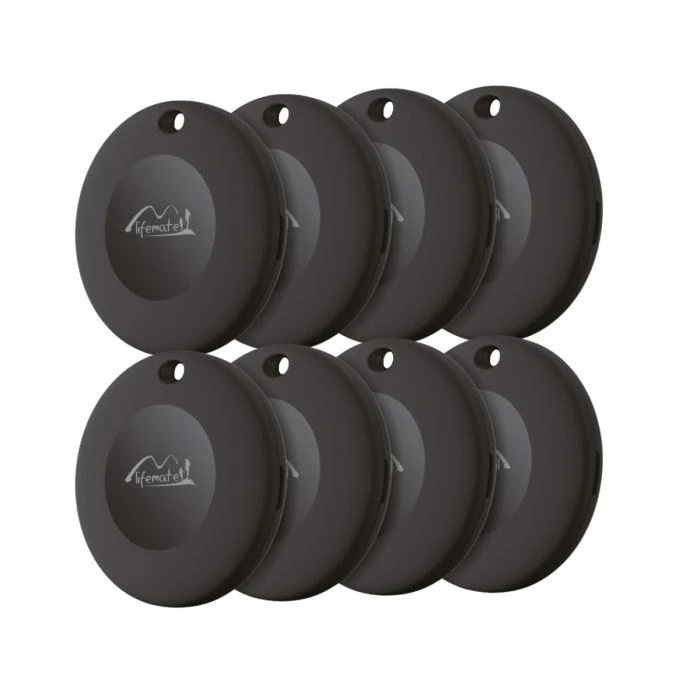 Android - 8-pack
View product
Android - 8-pack
View product
Lifemate LifeTag for Apple (Find My)
Using an Apple device? These models are for you: