
Smart Birdhouse vs. Classic: Why Upgrade to HD Observation?
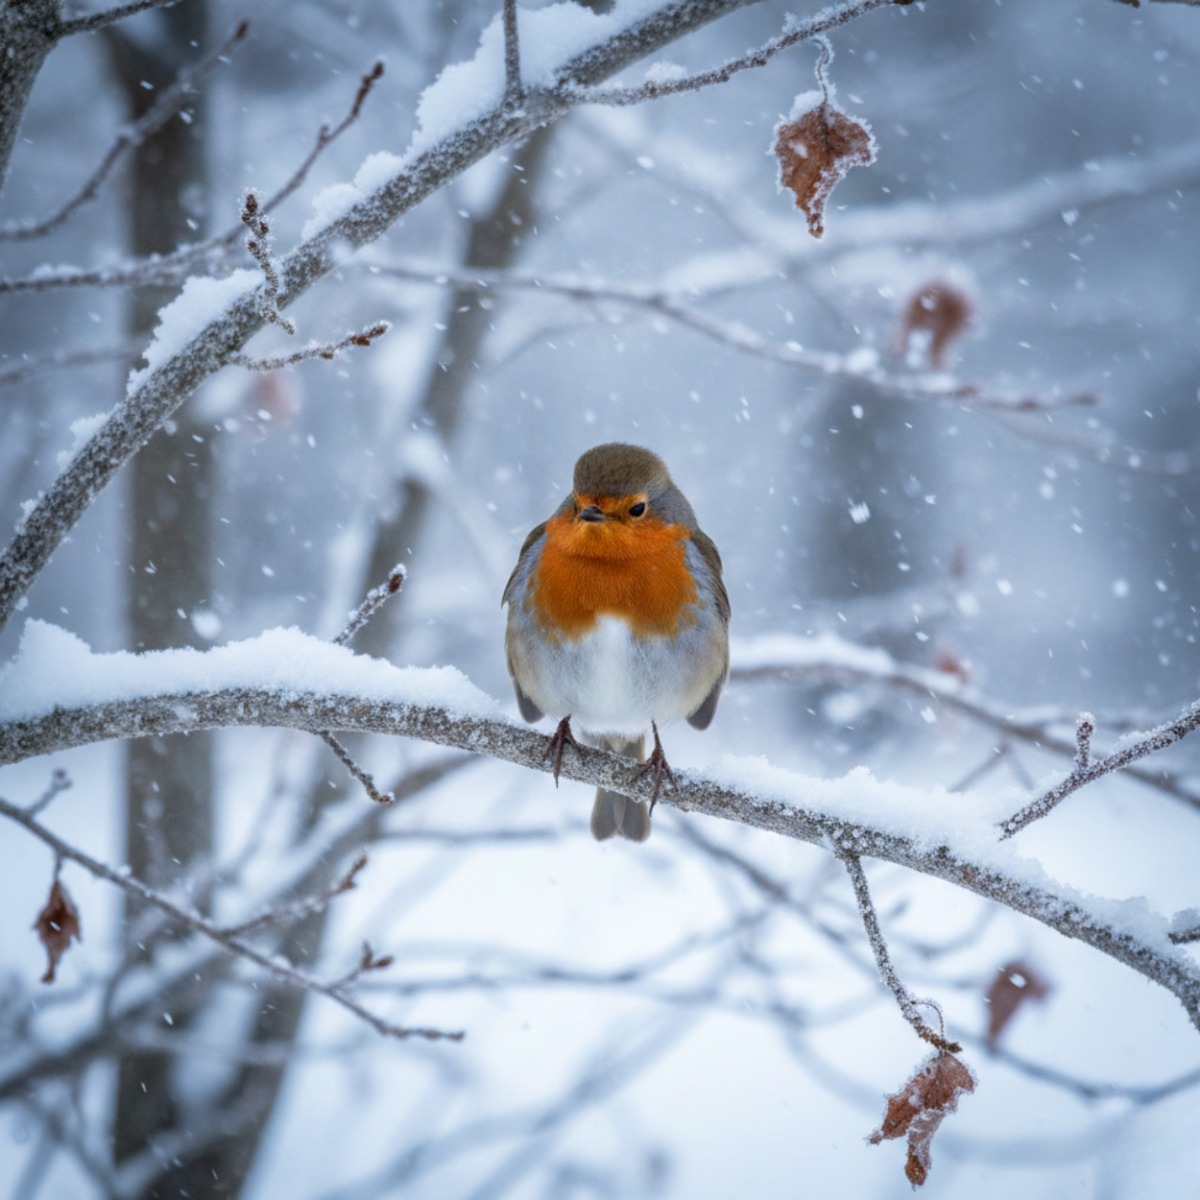
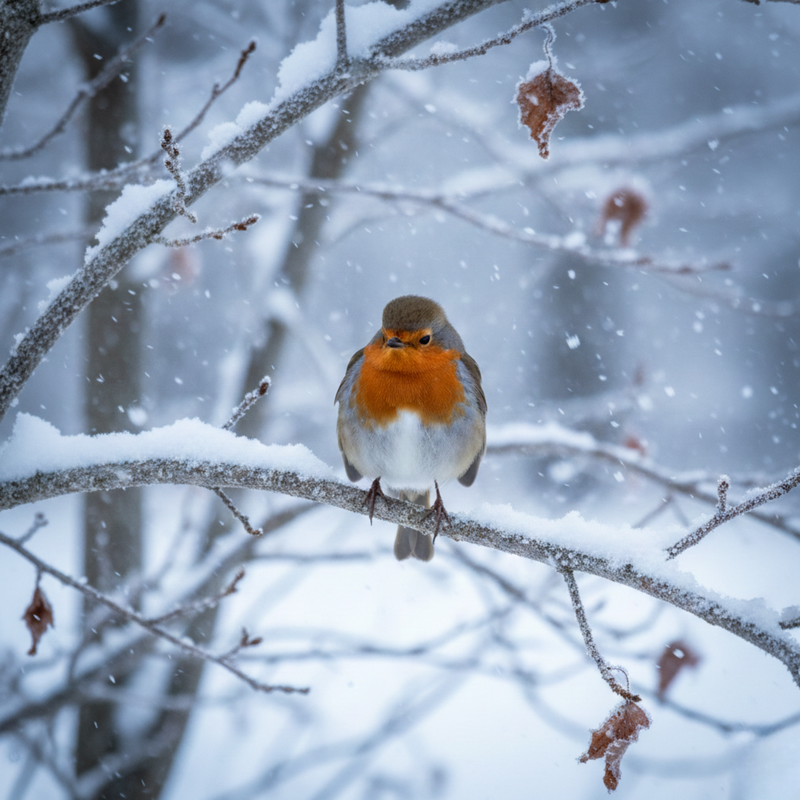
Spring marks the awakening of nature, and with it, the return of blue tits and great tits to our gardens. These energetic little birds play an essential role in the ecosystem's balance by naturally regulating insect pests.
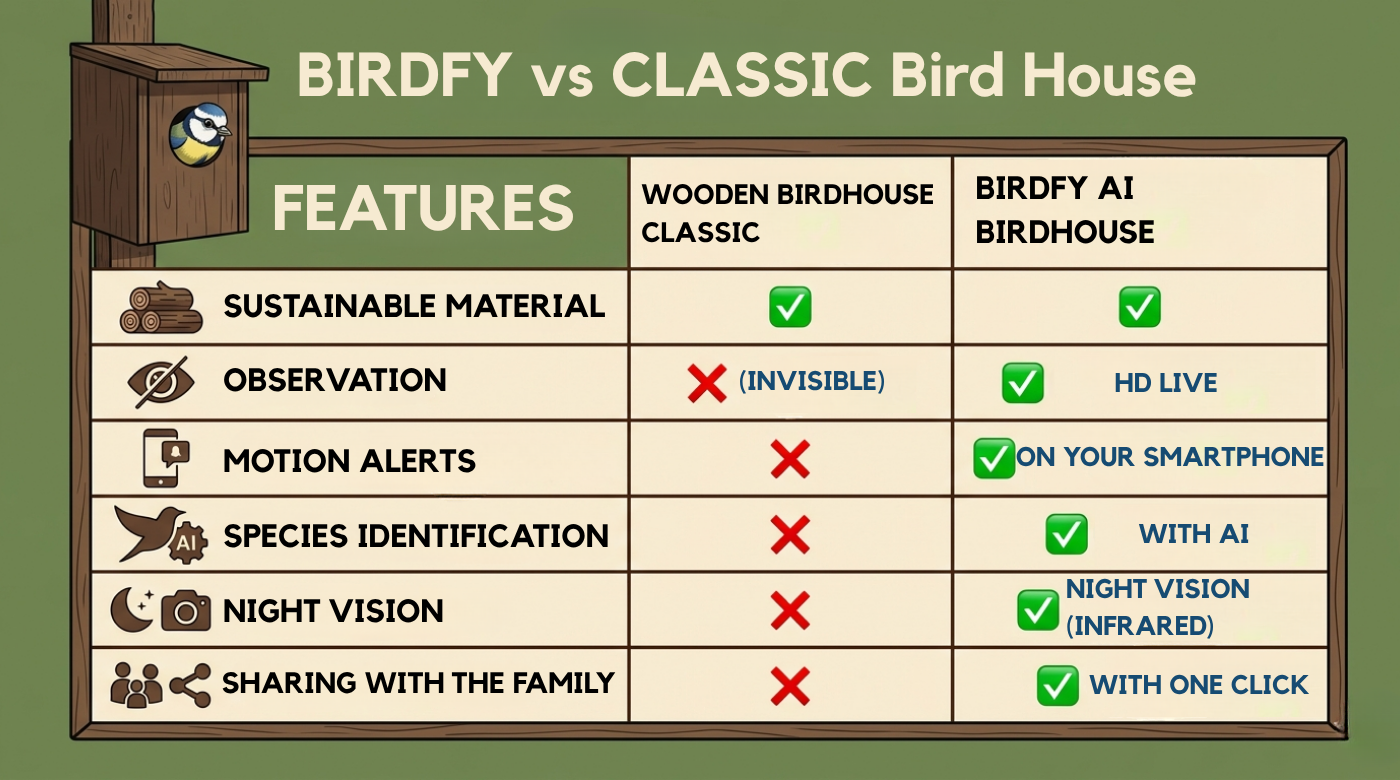
Yet, observing their life cycle remains a frustrating experience. We install a birdhouse with hope, but everything happening inside remains invisible.
Today, technology allows you to turn your garden into a true nature observatory. Discover our Birdfy collection and access a high-definition live view.
The birdhouse dilemma: Classic vs. Smart
The traditional birdhouse is effective but enclosed. A smart birdhouse, however, allows you to see every stage of the birds' lives in real-time.
If you are looking for an accessible and high-performance solution, the Birdfy Pro 2 Lite model is an excellent starting point for discovering smart bird watching.
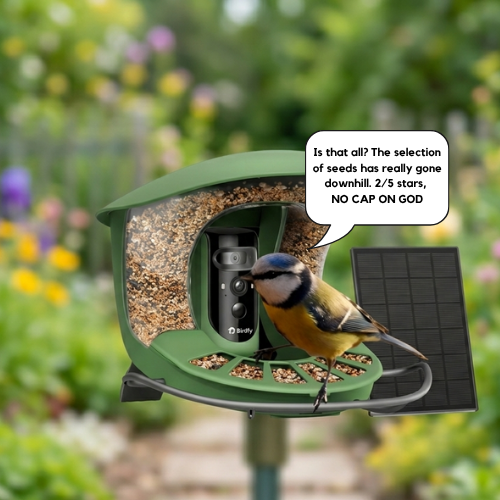
The Birdfy experience: Seeing the invisible
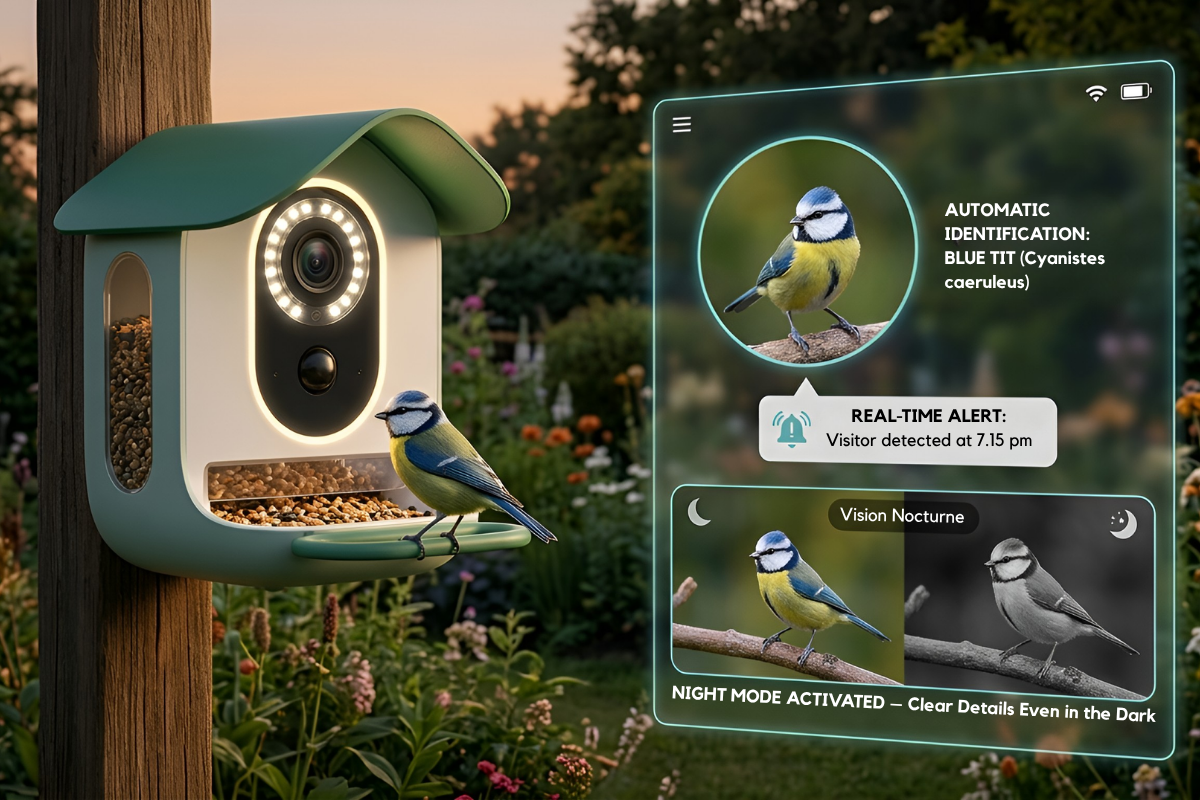
Observation becomes immersive: nest building, egg-laying, and hatching are all visible live. Artificial intelligence identifies species and automatically captures important moments.
For an even more advanced experience, the Birdfy Ebony Lite model combines premium design with technological performance.
Thanks to night vision, activity remains visible even in the dark, without disturbing the birds. You can also explore other solutions in our smart pet feeders category.
Tips for successful observations
Proper installation is essential to attract birds and obtain quality footage.
- Height: 2 to 3 meters (6.5 to 10 feet) for added safety.
- Orientation: East or South-East to avoid wind and rain.
- Quiet: Avoid high-traffic areas.
- Mounting: Stable to avoid startling the birds.
FAQ: Frequently asked questions
- How do I install a smart birdhouse in the city? Birdfy is designed to be compact and can be easily attached to balcony railings or terrace walls.
- Does the camera disturb the birds? No, it is completely discreet.
- Is Wi-Fi necessary? Yes, for live streaming and notifications.
Ready to experience it live?
Follow every step of the birds' lives and enjoy total immersion in nature.
Explore our Birdfy selection now and choose the model that fits your needs.